How to use the Axiell Intelligence (AI) tool
When Axiell Intelligence is implemented in your Collections system, a menu option is added to the Main menu:
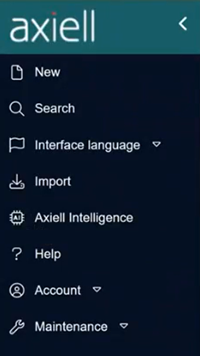
Select Axiell Intelligence for access to a dashboard used for managing your entity extraction projects. To start a project, we first select one or more records in the Catalogue and push content from a pre-defined set of fields into the AI tool for analysis. Default sets of fields are provided out-of-the-box but these can be customized as necessary in the System variables data source (details here); in the Object catalogue (in the Standard Model) they include Title (TI), Description (BE), Content description (CB), Creator history (pa) and Physical description (PB).
To demonstrate, we use the Object catalogue:
- Search a data source
 The management of a collection can involve a vast amount of information about objects / items / books, people and organizations, events, administration and more. This information is stored as records in data sources. Each data source stores a specific type of information: details about collection items, people, events, loans, and so on. and select a record, or mark
 Marking a record means selecting it by adding a tick to the record's checkbox in Result set View or Gallery View, and in Record Details View from Collections 1.15 onwards. One or more records can be marked and then actioned in some way (e.g. printed). more than one record, in Result set View.
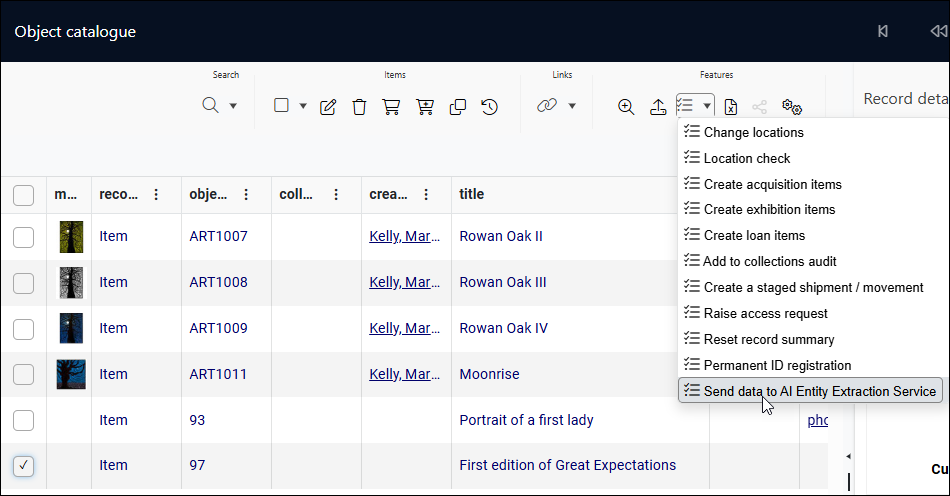
 - Select Send data to AI Entity Extraction Service task from the Task drop list:
The Send data to AI Entity Extraction Service box displays.
- Enter a descriptive title in the Project name field:

The project name is used to identify an extraction project on the Axiell Intelligence dashboard.
Note: It is also used in the Registration / synchronisation queue data source (accessible to authorized users), which holds synchronisation queue records, in this case for the Change Tracking Service.
-
Click OK to send data to the AI Extraction Service.
A Task summary pop-up will report how many records were sent to the AI Extraction Service.
-
Click OK to close the pop-up.
- Select Axiell Intelligence in the Main menu to display the Axiell Intelligence dashboard.
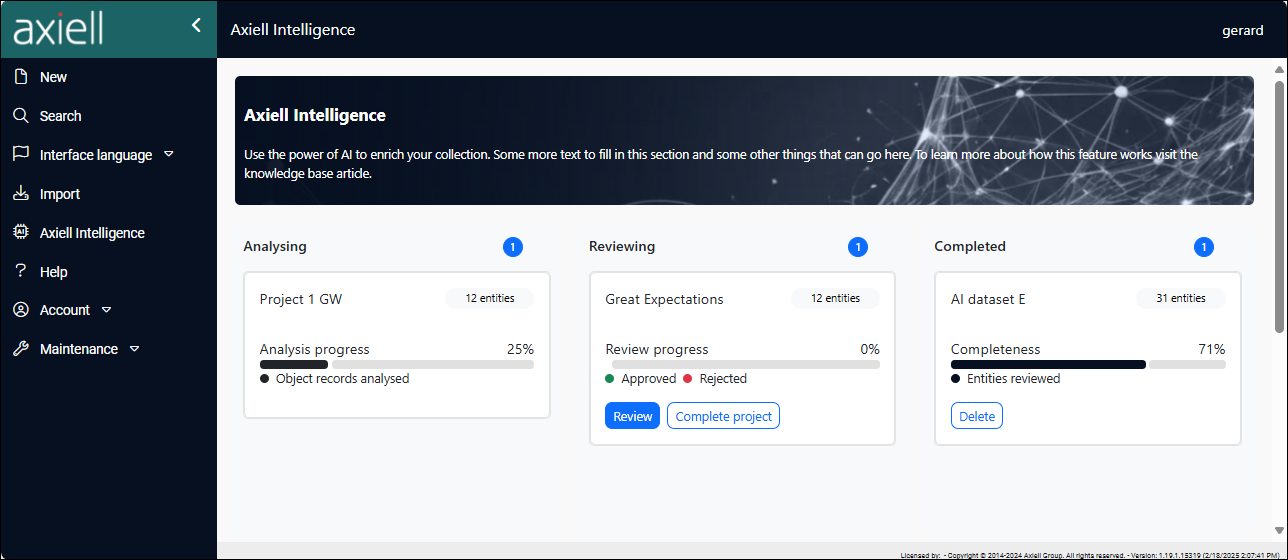
The dashboard lists all current extraction projects in one of three stages: Analysing, Reviewing, Completed.
The Analysing stage commences as soon as you push data to the AI Extraction Service: in this stage the AI tool analyzes your data, locates entities and attempts to match them to Wikidata entities. Wait for the process to complete (which may happen before you even display the dashboard!), at which point the project moves to the Reviewing column:
Your work begins in the Reviewing stage:
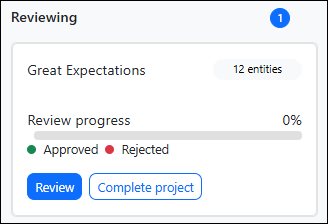
For each project, details in the Reviewing block include:
- the project title (entered at Step 3);
- the number of entities identified in your record content;
- how many entities have been approved / rejected (updated as the project is under way);
- how far the review has progressed (a percentage).
In the Review stage you choose between performing a manual or automatic review of extracted entities. A manual review involves checking each matched entity and approving or rejecting the match. The automated approach is recommended for bulk projects; a certainty threshold is set, say 90%, and if AI analysis indicates that a match is at or above that threshold, it is automatically approved. In both cases, a disclaimer is added to each keyword extracted this way to indicate that AI was used in the matching process (stating the origin of the keyword, the field and character position it was extracted from, its confidence score, and the date and time of extraction).
- Click Review to review the extracted entities:
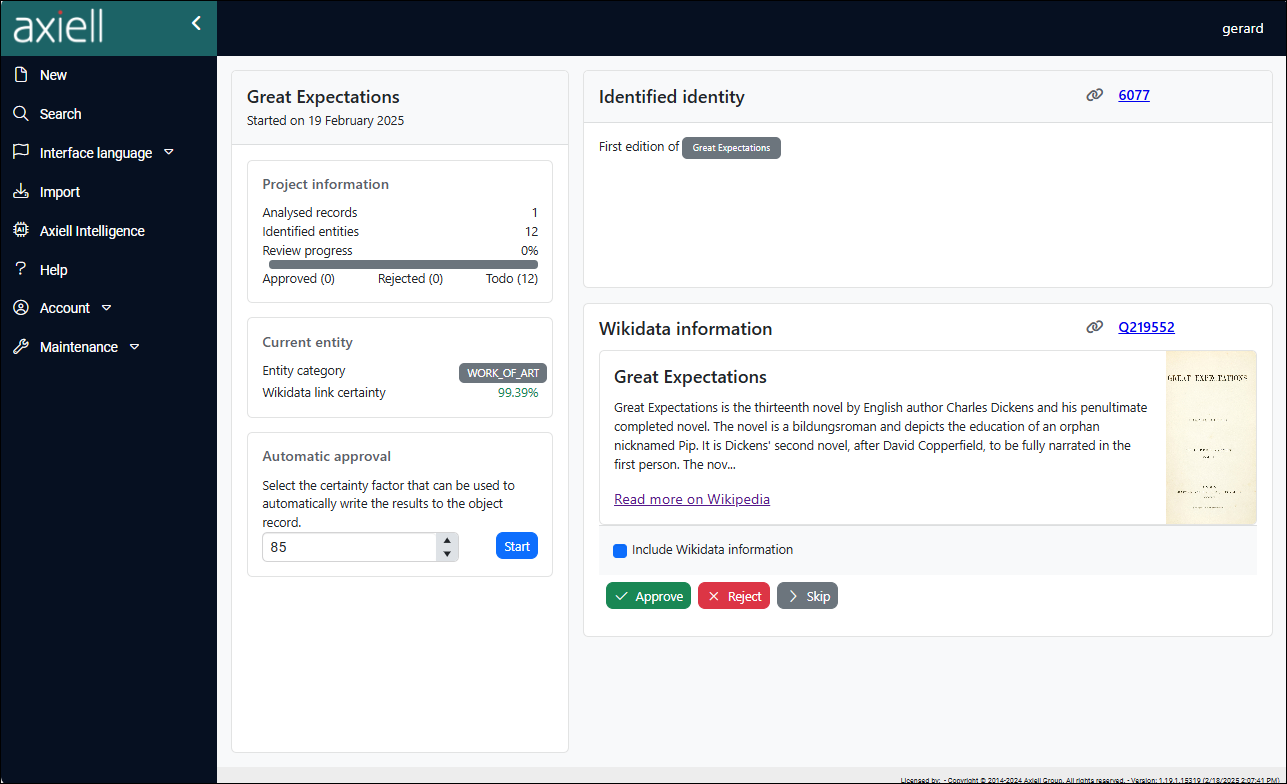
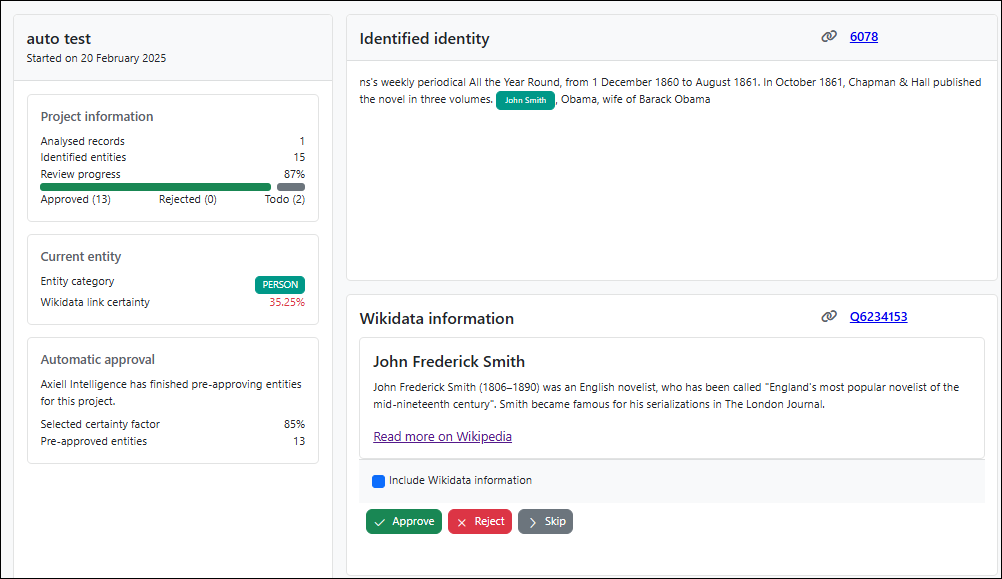
In the left column you will find three blocks with details about the current extraction project, the current entity and automatic approval:
Block
Details
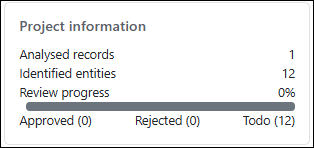
Details include the number of records submitted for analysis, how many entities were identified, and how many entity matches have been approved, rejected, to do. These figures are updated as you process matches.
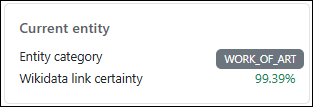
As we see in the screenshot above, the current entity (
Great Expectationsin this example) is presented on the right side of the dashboard. The left hand Current entity block includes two pieces of information about the entity:- Entity category: broadly speaking, the domain to which it belongs. Amongst many others, entity categories include:
GPE- Geopolitical Entity, used to classify entities related to geographical and political regions.-
NORP- Nationalities or Religious or Political groups, used to identify and classify words or phrases in text that refer to nationalities, religious groups, or political groups. PersonOrg- used for organizations such as companies, institutions, agencies and other formal groups.Work_of_art- used to identify and classify titles of creative works, such as: books, songs, movies, paintings, sculptures, plays, etc.
- Wikidata link certainty: a percentage indicating how certain the AI tool is that it has matched the entity found in your data with the correct Wikidata entity.
While this number can be useful when undertaking a manual review of matches, its primary use, as we'll see below, is for Automatic approval of matches, where this certainty rating determines whether a match is automatically accepted as valid or not.
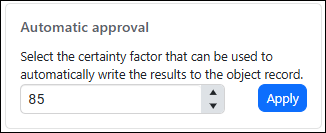
Automatic approval of matches is recommended for large extraction projects (projects where records are processed in bulk, generating a large number of matches).
The Current entity block includes a Wikidata link certainty rating indicating how certain the AI tool is that it has matched the entity found in your data with the correct Wikidata entity.
In the Automatic approval block you specify a threshold (a percentage) at which a match is automatically approved. In the example above, any match in the current extraction project with a Wikidata link certainty of 85% or more will be approved automatically when Apply is clicked.
 Automatic approval
To perform automatic approval of entity matches for the current extraction project:
- Enter a certainty factor (a percentage) in the Automatic approval box at which a match is automatically approved.
- Click Apply.
A message will ask you to confirm automatic approval. Click Yes to proceed or No to cancel the process.
Note: It is important to understand that it is possible that some matches may be incorrect despite a high Wikidata link certainty.
When the process is complete (you may need to refresh the dashboard by clicking Axiell Intelligence in the Main menu), the Automatic approval block will indicate how many entities were approved. In this example, 13 of 15 entity matches were at or above the 85% certainty threshold.
As we can see in this example, the current entity was not approved because it only has a Wikidata link certainty of 35.35%:
You could now manually review the remaining entities (details below).
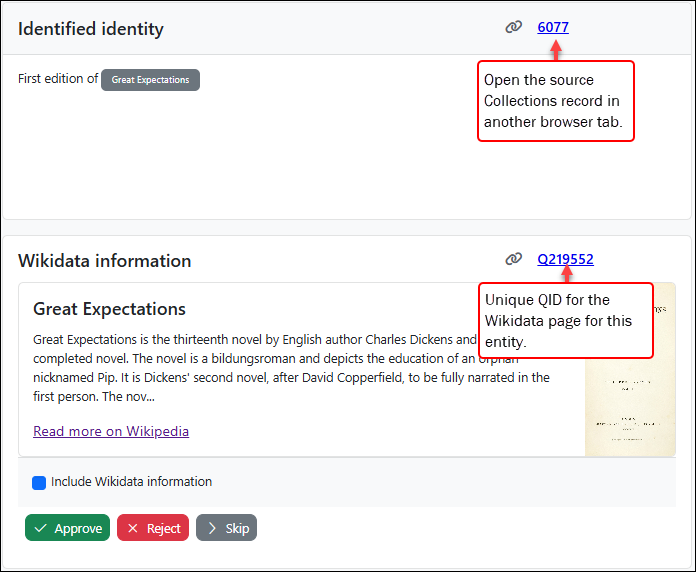
A manual review is undertaken in the right column:
The current entity identified in your record data is highlighted at the top, along with some context. For more context, you can select the link to the right (
6077in this example) to open the source Collections record in another browser tab.Details from the matched Wikidata entity are shown below. In this case, the AI tool has determined that the correct Wikidata entity is matched with (a very high!) 99.39% certainty:

The QID (a unique identifier assigned to each Wikidata entity) is a link to the Wikidata page, which you can click for more details. You can also click the link to the Wikipedia page which provides a more human readable version of the information.
 Include Wikidata information
The Include Wikidata information option determines whether information from Wikidata (including a URI
 Uniform Resource Identifier - a string of characters used to identify a resource on the internet. It can refer to both abstract and physical resources, such as web pages, email addresses, or files. URIs are essential for locating and interacting with resources on the web.) is written back to the source record in Collections. It is enabled by default (and is enabled when undertaking an automatic approval of matches (details above).
You might deselect this option if the AI tool identifies a name as an entity but there is no record in Wikidata for that name; if you deselect the checkbox and click Approve the name will be added as a keyword to the source record without a link to Wikidata (if there is an existing record for the name / term in your Authority data sources, an attempt will be made to match it; if not, a record for the name / term will be created).
Review the available information and click:
- Approve if satisfied the match is correct.
- Reject if you believe the match is incorrect.
- Skip without approving or rejecting the match (until you complete the project, you can come back to a skipped entity later).
The Project information block in the left column will keep track of your choices:
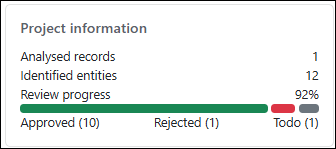
A message will display when you have approved or rejected all entities in the current project:

- Entity category: broadly speaking, the domain to which it belongs. Amongst many others, entity categories include:
-
Return to the dashboard by clicking the Axiell Intelligence option in the Main menu and select Complete project:
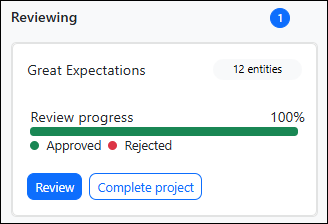
Again, a message will display asking you to confirm your action:

When you click Yes, structured keyword metadata is written back to the source record (into the Association fields by default), and links are formed between the source record and any affected authority records in Persons and institutions (for names) and the Thesaurus (for keyword terms) for each approved entity.
Tip: Review the Example for details about what is written back to your records.
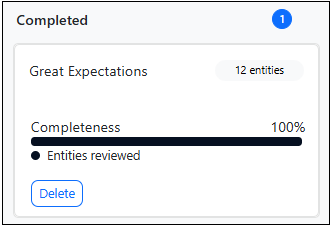
The project will move to the Completed stage, from where it can be deleted:
